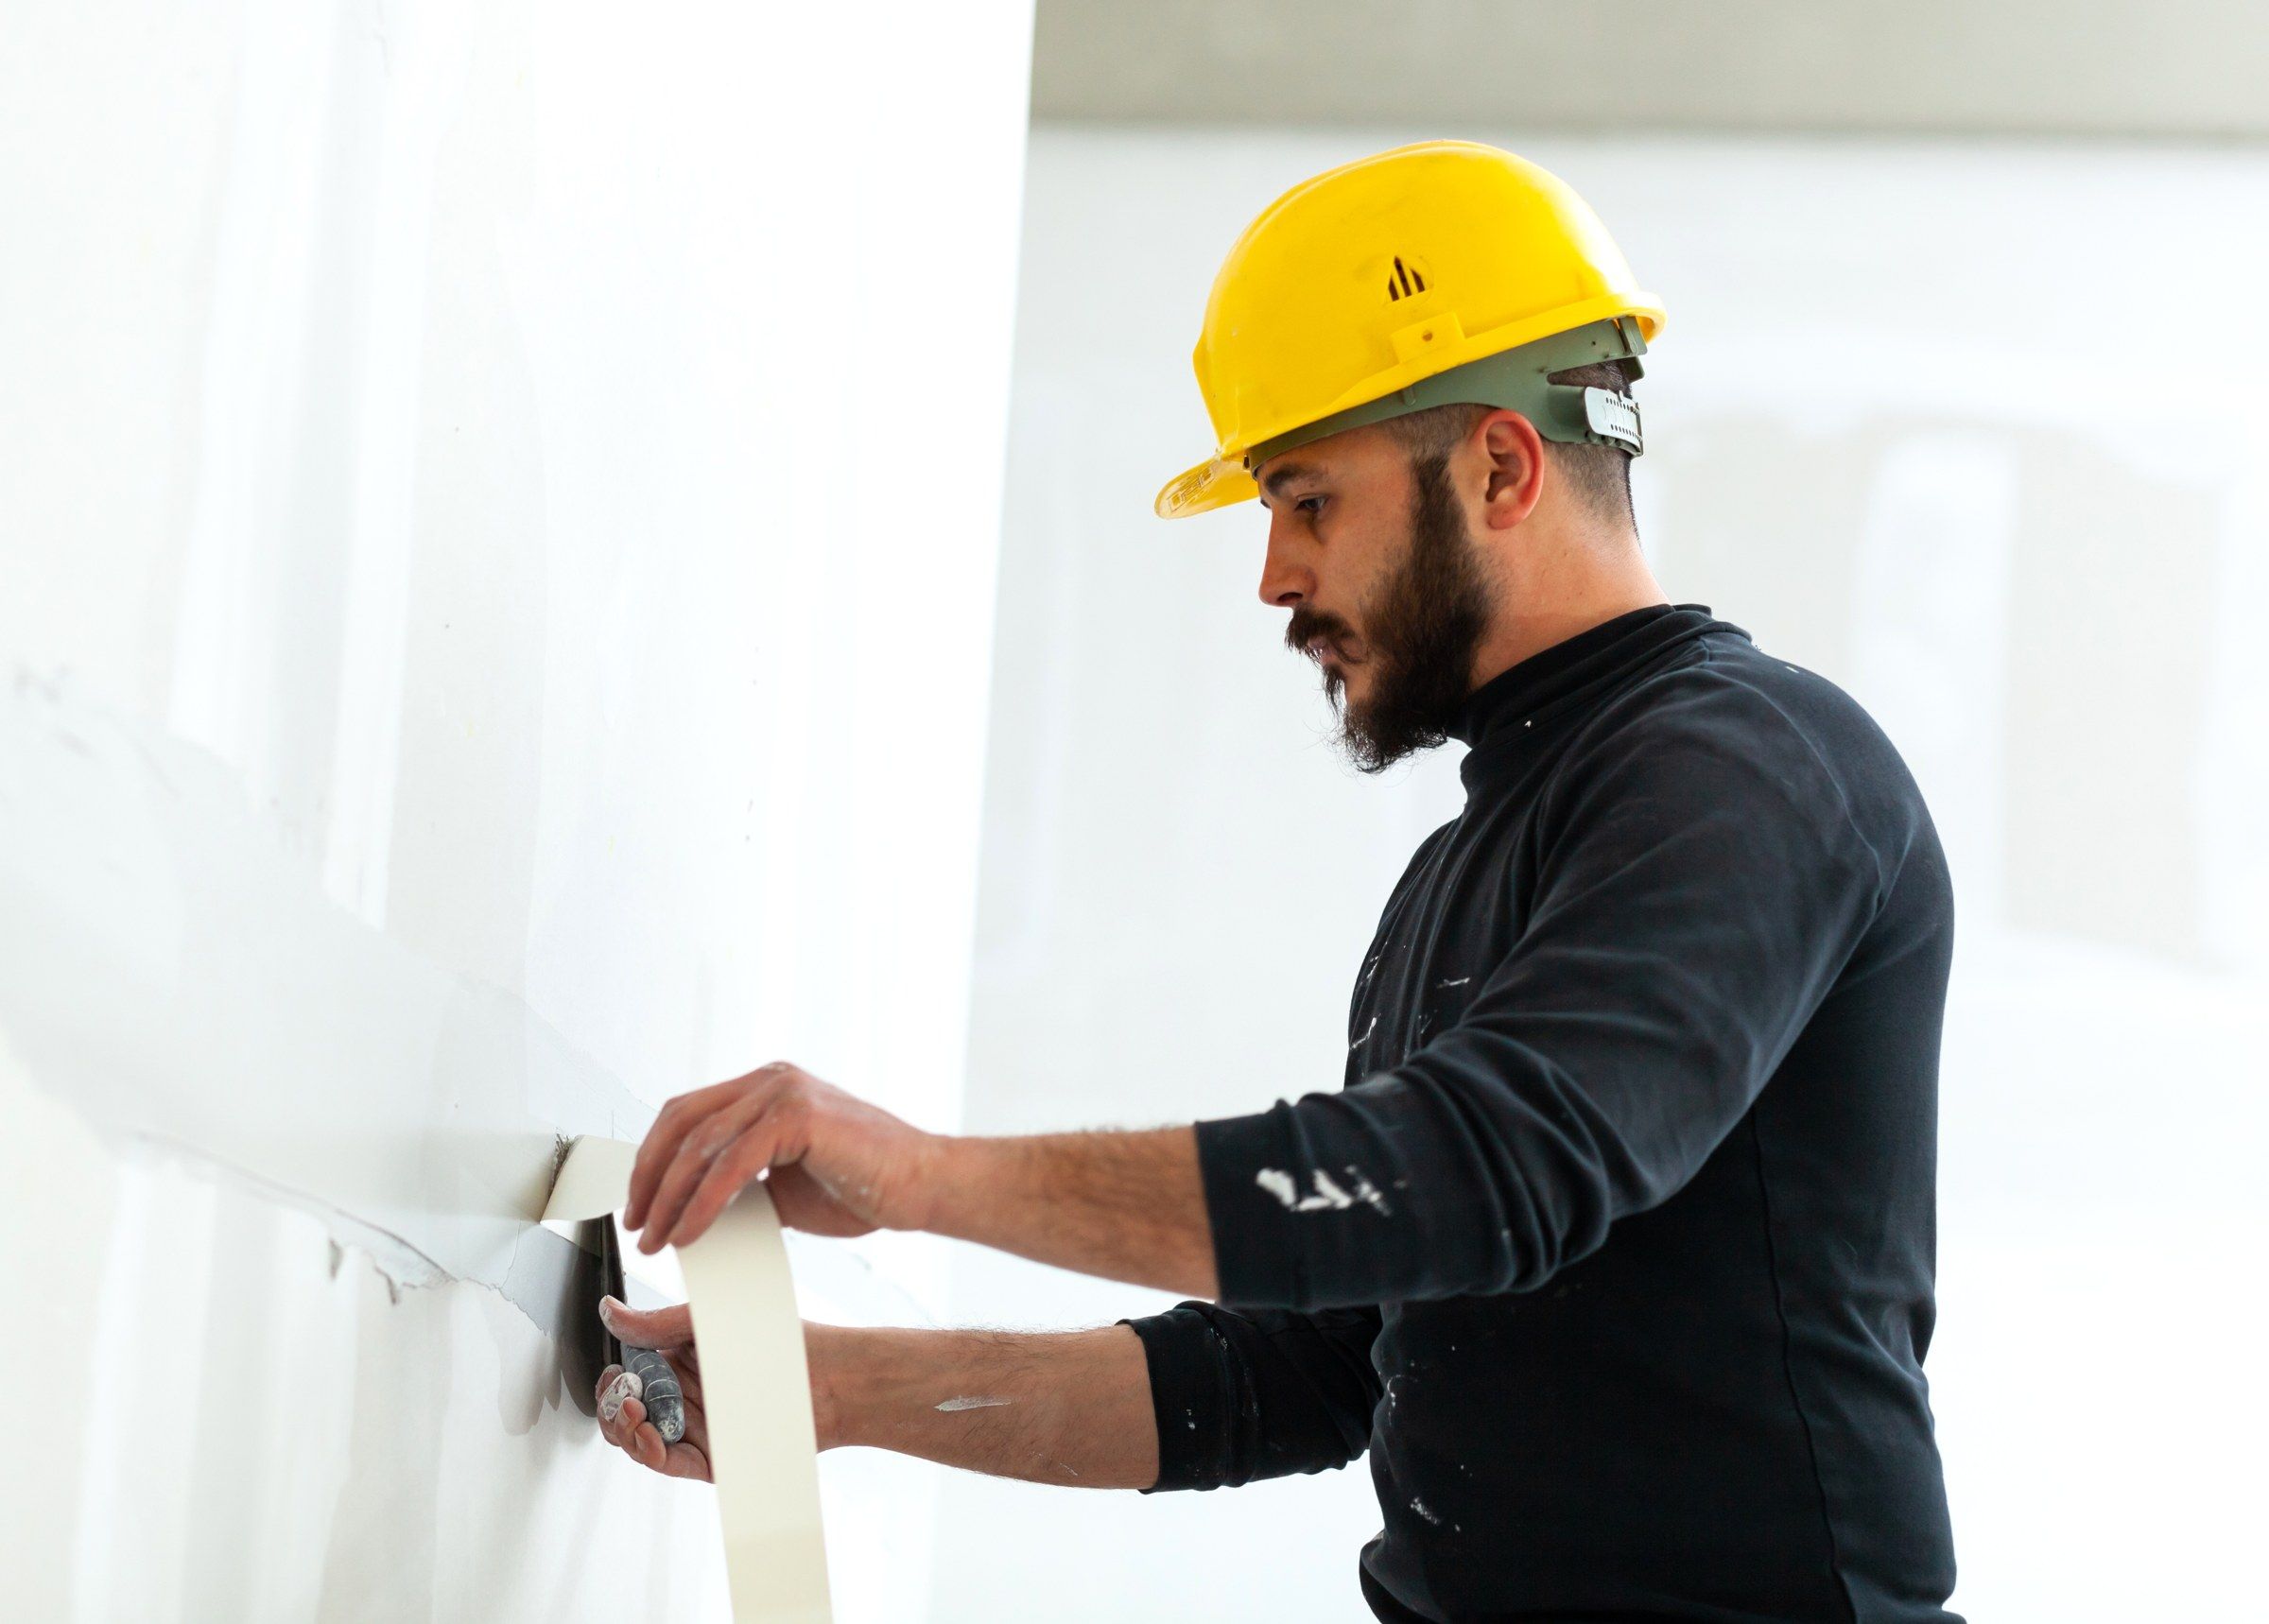
Drywall taping and mudding in Waukesha
You hung it, or your contractor did. We tape it, coat it and sand it.
Get a free estimate- Tape
- Paper on flats and inside corners
- Coats
- Three over joints, corners and screws
- Timeline
- Four to five days for most rooms
Hanging drywall is heavy work, but most handy people can do it. Taping is different. It is a skill built over years, and a first attempt nearly always shows. Ridges, bubbles, visible seams, and a house full of sanding dust.
That is why taping is the part people hire out. We take over once the board is up and carry it through to a surface that is ready to prime.
What taping covers
Flat joints. Butt joints. Inside corners. Outside corners with bead. Every screw head. All of them get tape or bead, then three coats of compound, each one wider and thinner.
Before we start we check the hanging. Screws that stick out, gaps wider than a quarter inch and sheets with no backing at the edge all need fixing first. We will point them out and can correct them.
Who hires us for this
Do-it-yourselfers
Board is up, energy is gone.
Remodelers
Their carpenters hang, we finish.
Owners of unfinished spaces
Garages and basements with bare seams.
People fixing a bad tape job
Old work stripped back and redone.
Coat by coat
Prep
Screws set, gaps pre-filled, bead installed.
Tape
Paper tape bedded on all seams and corners.
Second coat
Wider knife, tape buried, screws coated again.
Third coat
Widest pass, feathered thin.
Sand
Light sanding under a work light.
Tools and compound
All-purpose compound for bedding tape, lightweight for the top coats. Setting compound where we need strength or speed. Knives from six to fourteen inches.
On large jobs we use automatic taping tools, which lay tape and compound together and apply even coats quickly. On small jobs, hand tools.
Why hire it out
Seams disappear
Flat under primer and paint.
Far less dust
Clean coats need little sanding.
Days, not weeks
Done on a schedule.
It lasts
Properly bedded tape does not blister or crack.
What sets the price
Taping is priced by board area, then adjusted for these.
Hang quality
Tight joints and properly set screws tape fast. Gaps, proud screws and broken edges add prep and coats.
Butt joints
Ends without a factory taper need wide feathering. Fewer butt joints means less labor.
Corners
Every inside corner is taped by hand. Every outside corner gets bead and three coats. Count them.
Height
Above nine feet, the work moves to stilts or scaffold.
Finish level
Level 3 under texture, Level 4 for paint, Level 5 for critical light. Each step adds a pass.
Conditions that decide the result
Heat. Compound cures by drying. Below about 55 degrees it slows badly and bonds poorly. The space needs steady heat for a day before we start and until the last coat is dry.
Air. Humid, still air keeps coats wet. Moving air and a dehumidifier keep the schedule. Too much direct heat on one spot dries it too fast and cracks it.
Prep. Before any tape, we go over the board. Loose sheets get screws. Proud screws get set. Wide gaps get pre-filled with setting compound and left to harden. Torn paper gets cut out. Ten minutes of this per room saves a callback.
Where taping goes wrong
Dry tape
Not enough compound under the tape. It blisters weeks later.
Heavy coats
Thick fills shrink and crack. Thin coats, more of them.
Over-sanding
Scuffed paper beside the joint shows through paint as fuzz.
Rushed recoats
Compound over a wet coat traps moisture and fails.
If you hung the board yourself, send photos before we quote. We will tell you straight whether it is ready to tape or needs fixing first.
Between visits, leave the room alone. Heat on, air moving, nothing leaning on the walls. When we finish, the walls are ready for primer.
What each coat does
Pre-fill
Gaps and damaged edges packed with setting compound before any tape. It hardens chemically and does not shrink back.
Tape coat
Paper tape bedded in compound over every joint and inside corner. This coat is structural. It is what stops the joint cracking.
Fill coat
A wider pass that covers the tape and fills the tapered recess between sheets. Screw heads get their second coat here.
Finish coat
The widest and thinnest pass. It blends the joint into the board face. Lightweight compound, easy to sand.
Sanding
Fine grit, with a light held along the wall. The aim is to remove tool marks, not compound.
Skim, if Level 5
A thin film over the entire surface so paper and compound present one uniform face to the paint.
Paper or mesh. We use paper tape for almost everything. It is stronger across the joint and folds cleanly into corners. Mesh has its place with setting compound on repairs. Mesh under ordinary premixed compound is the cause of many cracked joints.
Hand or machine. Large jobs are often taped with automatic tools that apply tape and compound together. Small jobs and repairs are done by hand. The result should be the same. What matters is that the tape is fully bedded and each coat is wider than the last.
Terms you will hear
Mud
Joint compound. Comes premixed in buckets or as a setting powder mixed with water.
Hot mud
Setting compound. Hardens in a fixed time whatever the humidity.
Butt joint
Where two cut ends meet with no taper. The hardest joint to hide.
Feathering
Thinning the edge of a coat to nothing so it blends into the board.
Bead
The strip that forms an outside corner.
Timeline for a typical room: three working visits across four or five days, with heat on throughout. Larger jobs run the same sequence room by room so that something is always drying while something else is being coated.
If the board was hung by someone else, we will list anything that needs correcting before we tape and price that separately, so you can see what the taping itself costs.
Good to know
Thinking of taping it yourself? It is possible, and many people do the first two coats well enough. The final coat and the butt joints are where most self-taught work shows. One option is to tape and fill yourself and have us do the finish coat and sanding. Ask before you start so the first coats are left the way a finisher needs them.
Whoever does it, do not skip the primer. Even a well-taped wall looks striped under paint alone, because paper and compound absorb differently. A drywall primer over the whole surface is what makes the finish coat look even.
Dust is manageable. We seal the room, cover returns, and sand with vacuum tools where the surface allows. Expect a fine film in the work area afterward and very little beyond it.
Before and after
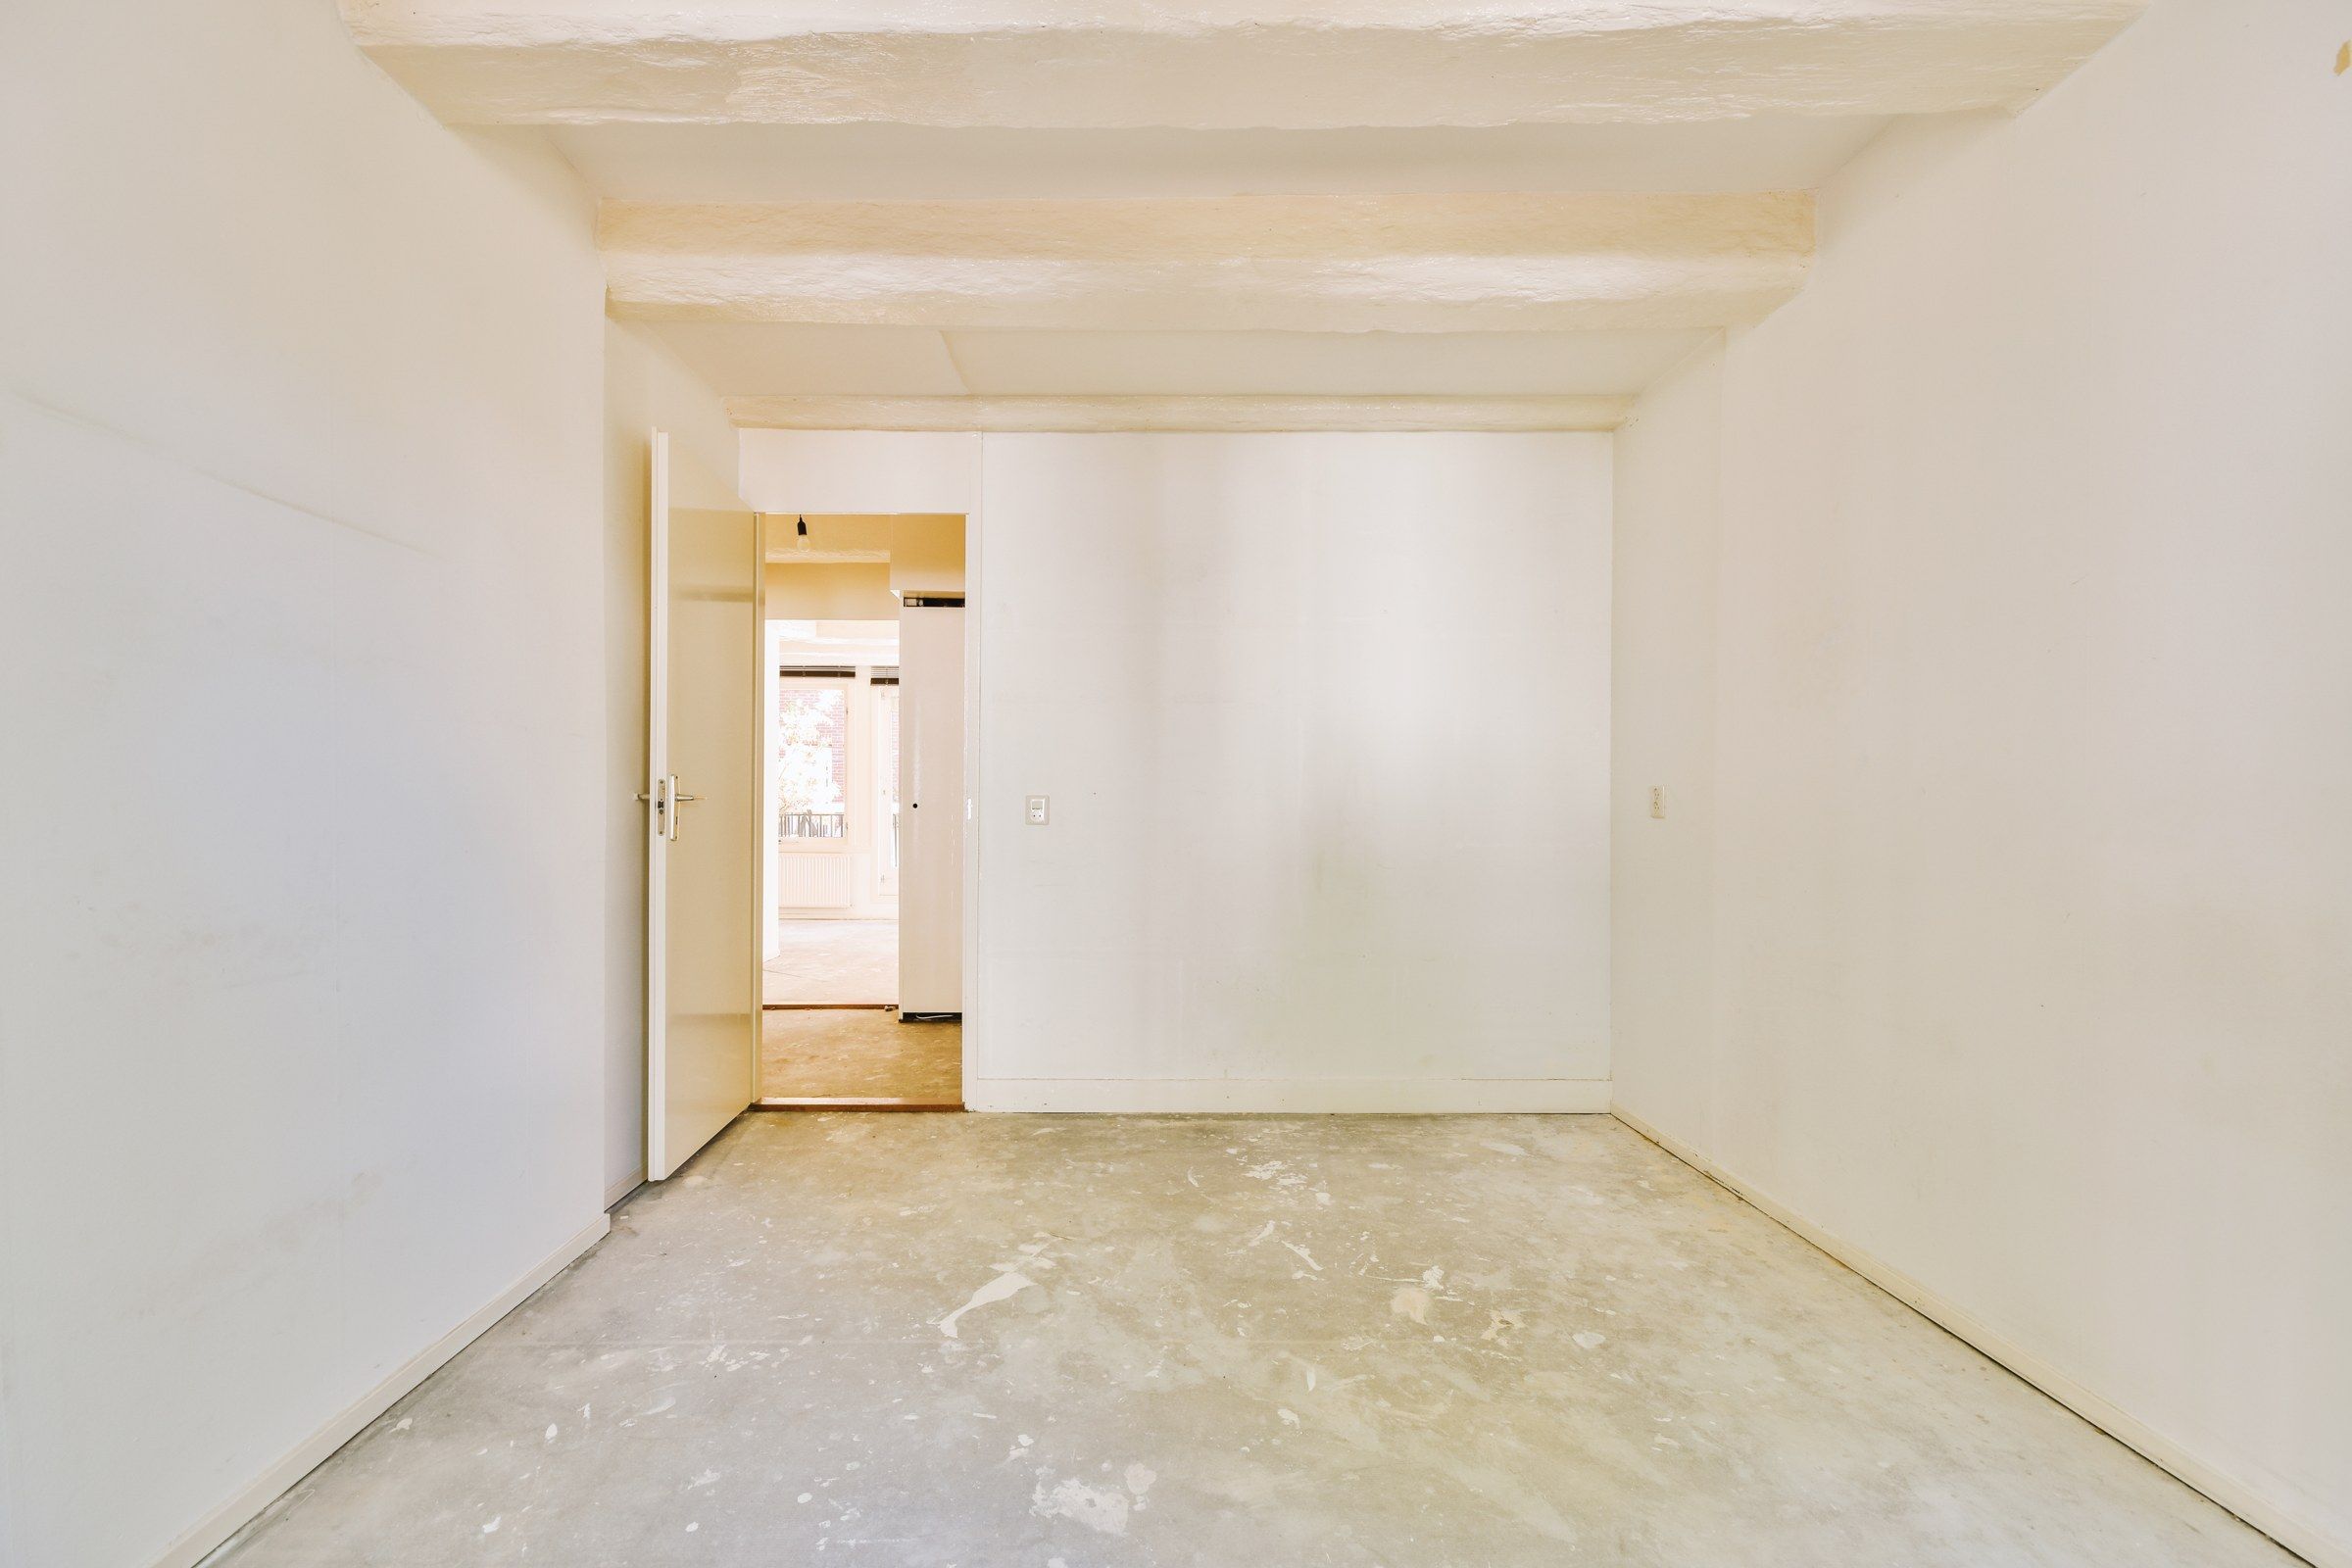
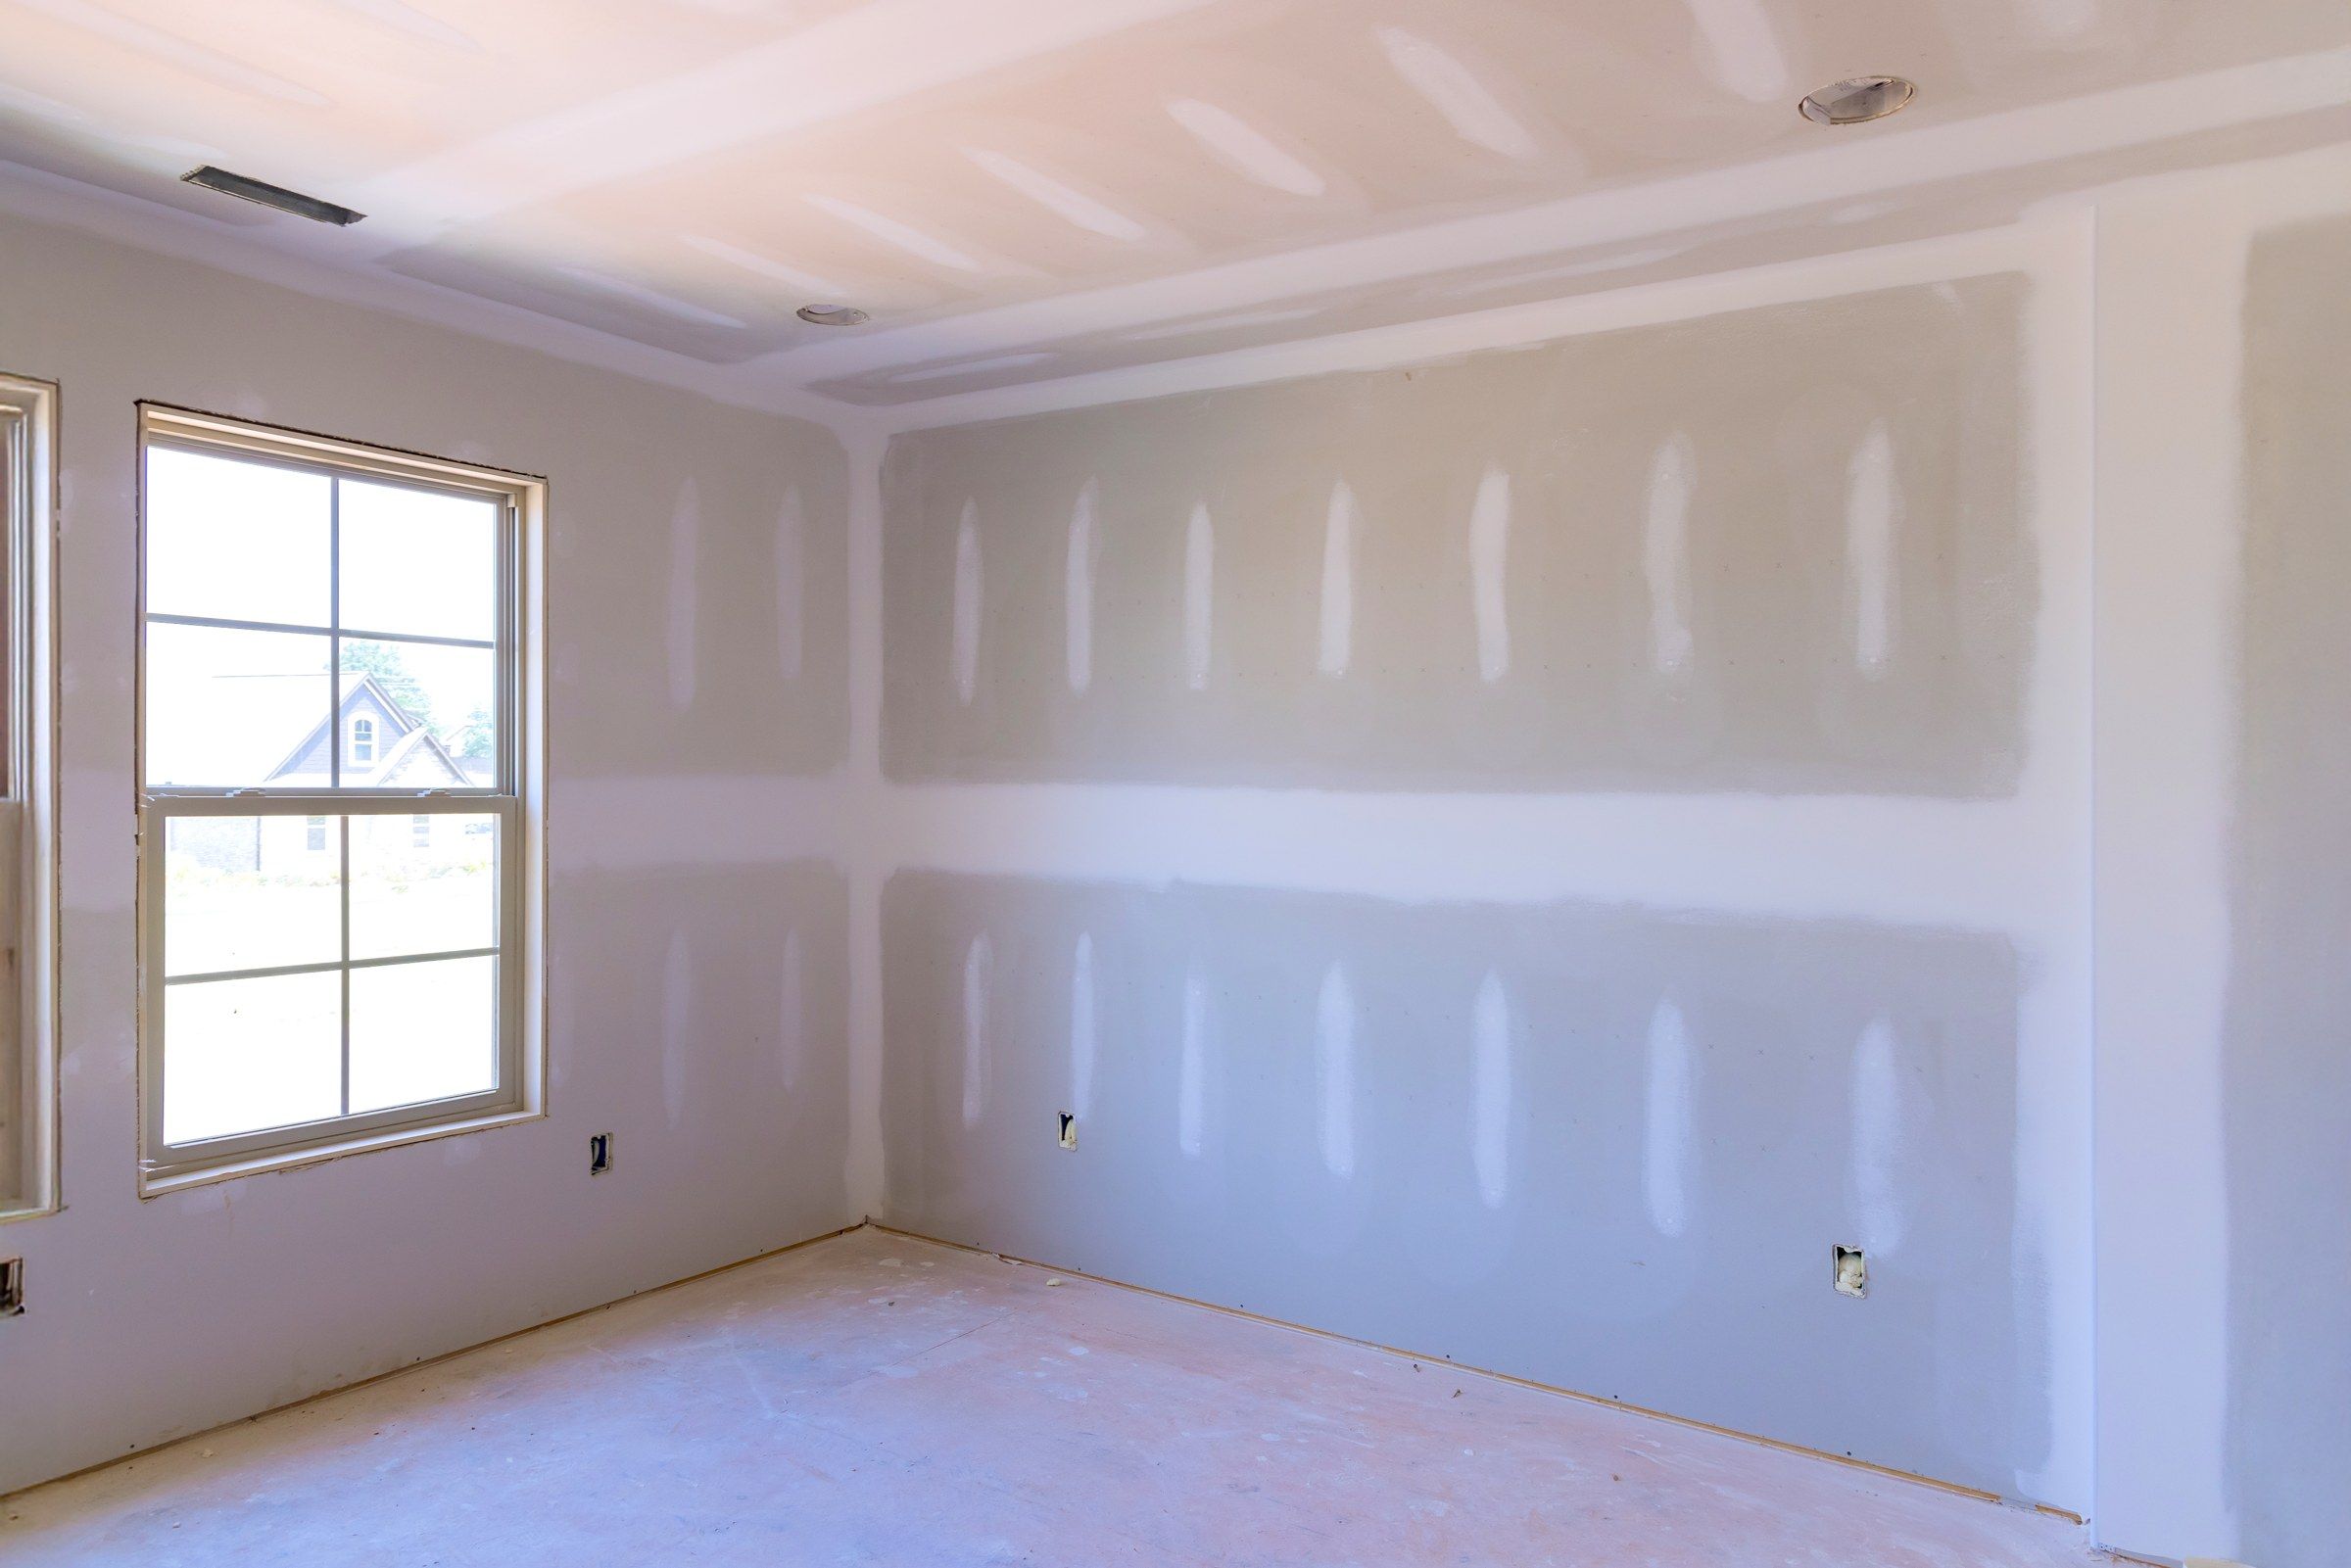
Stock photos used to illustrate the change. Not a specific project of ours.
Taping conditions here
Compound needs warmth and moving air to dry. A Waukesha basement in August is humid, and a garage in January is freezing. Neither is a good drying room without help.
We bring fans, dehumidifiers or heat as the season demands, and plan the coats around real drying times.
Questions about drywall taping and mudding
Will you finish drywall I hung myself?
Yes. We look it over first and tell you if anything needs fixing before tape goes on.
Paper or mesh tape?
Paper for almost everything. It is stronger on seams and the only good choice for inside corners.
Do you sand between coats?
Only to knock down ridges. Most sanding happens once, at the end.
How should I prepare the room?
Clear the floor along the walls and make sure there is power and heat. We cover what stays.
Is priming included?
Our work ends at a sanded surface. We can recommend the right primer for new drywall.
Work that often goes with this
Drywall Finishing
Level 4 and Level 5 finishes, skim coats and texture.
DetailsDrywall Installation
Board measured, stocked and hung on wood or steel framing.
DetailsGarage Drywall Installation
Fire-rated board hung and finished in attached and detached garages.
DetailsBasement Drywall Installation
Walls, ceilings and soffits for finished lower levels.
DetailsGet a price for drywall taping and mudding in Waukesha
Describe the job, add a photo, and we will send a written estimate.