
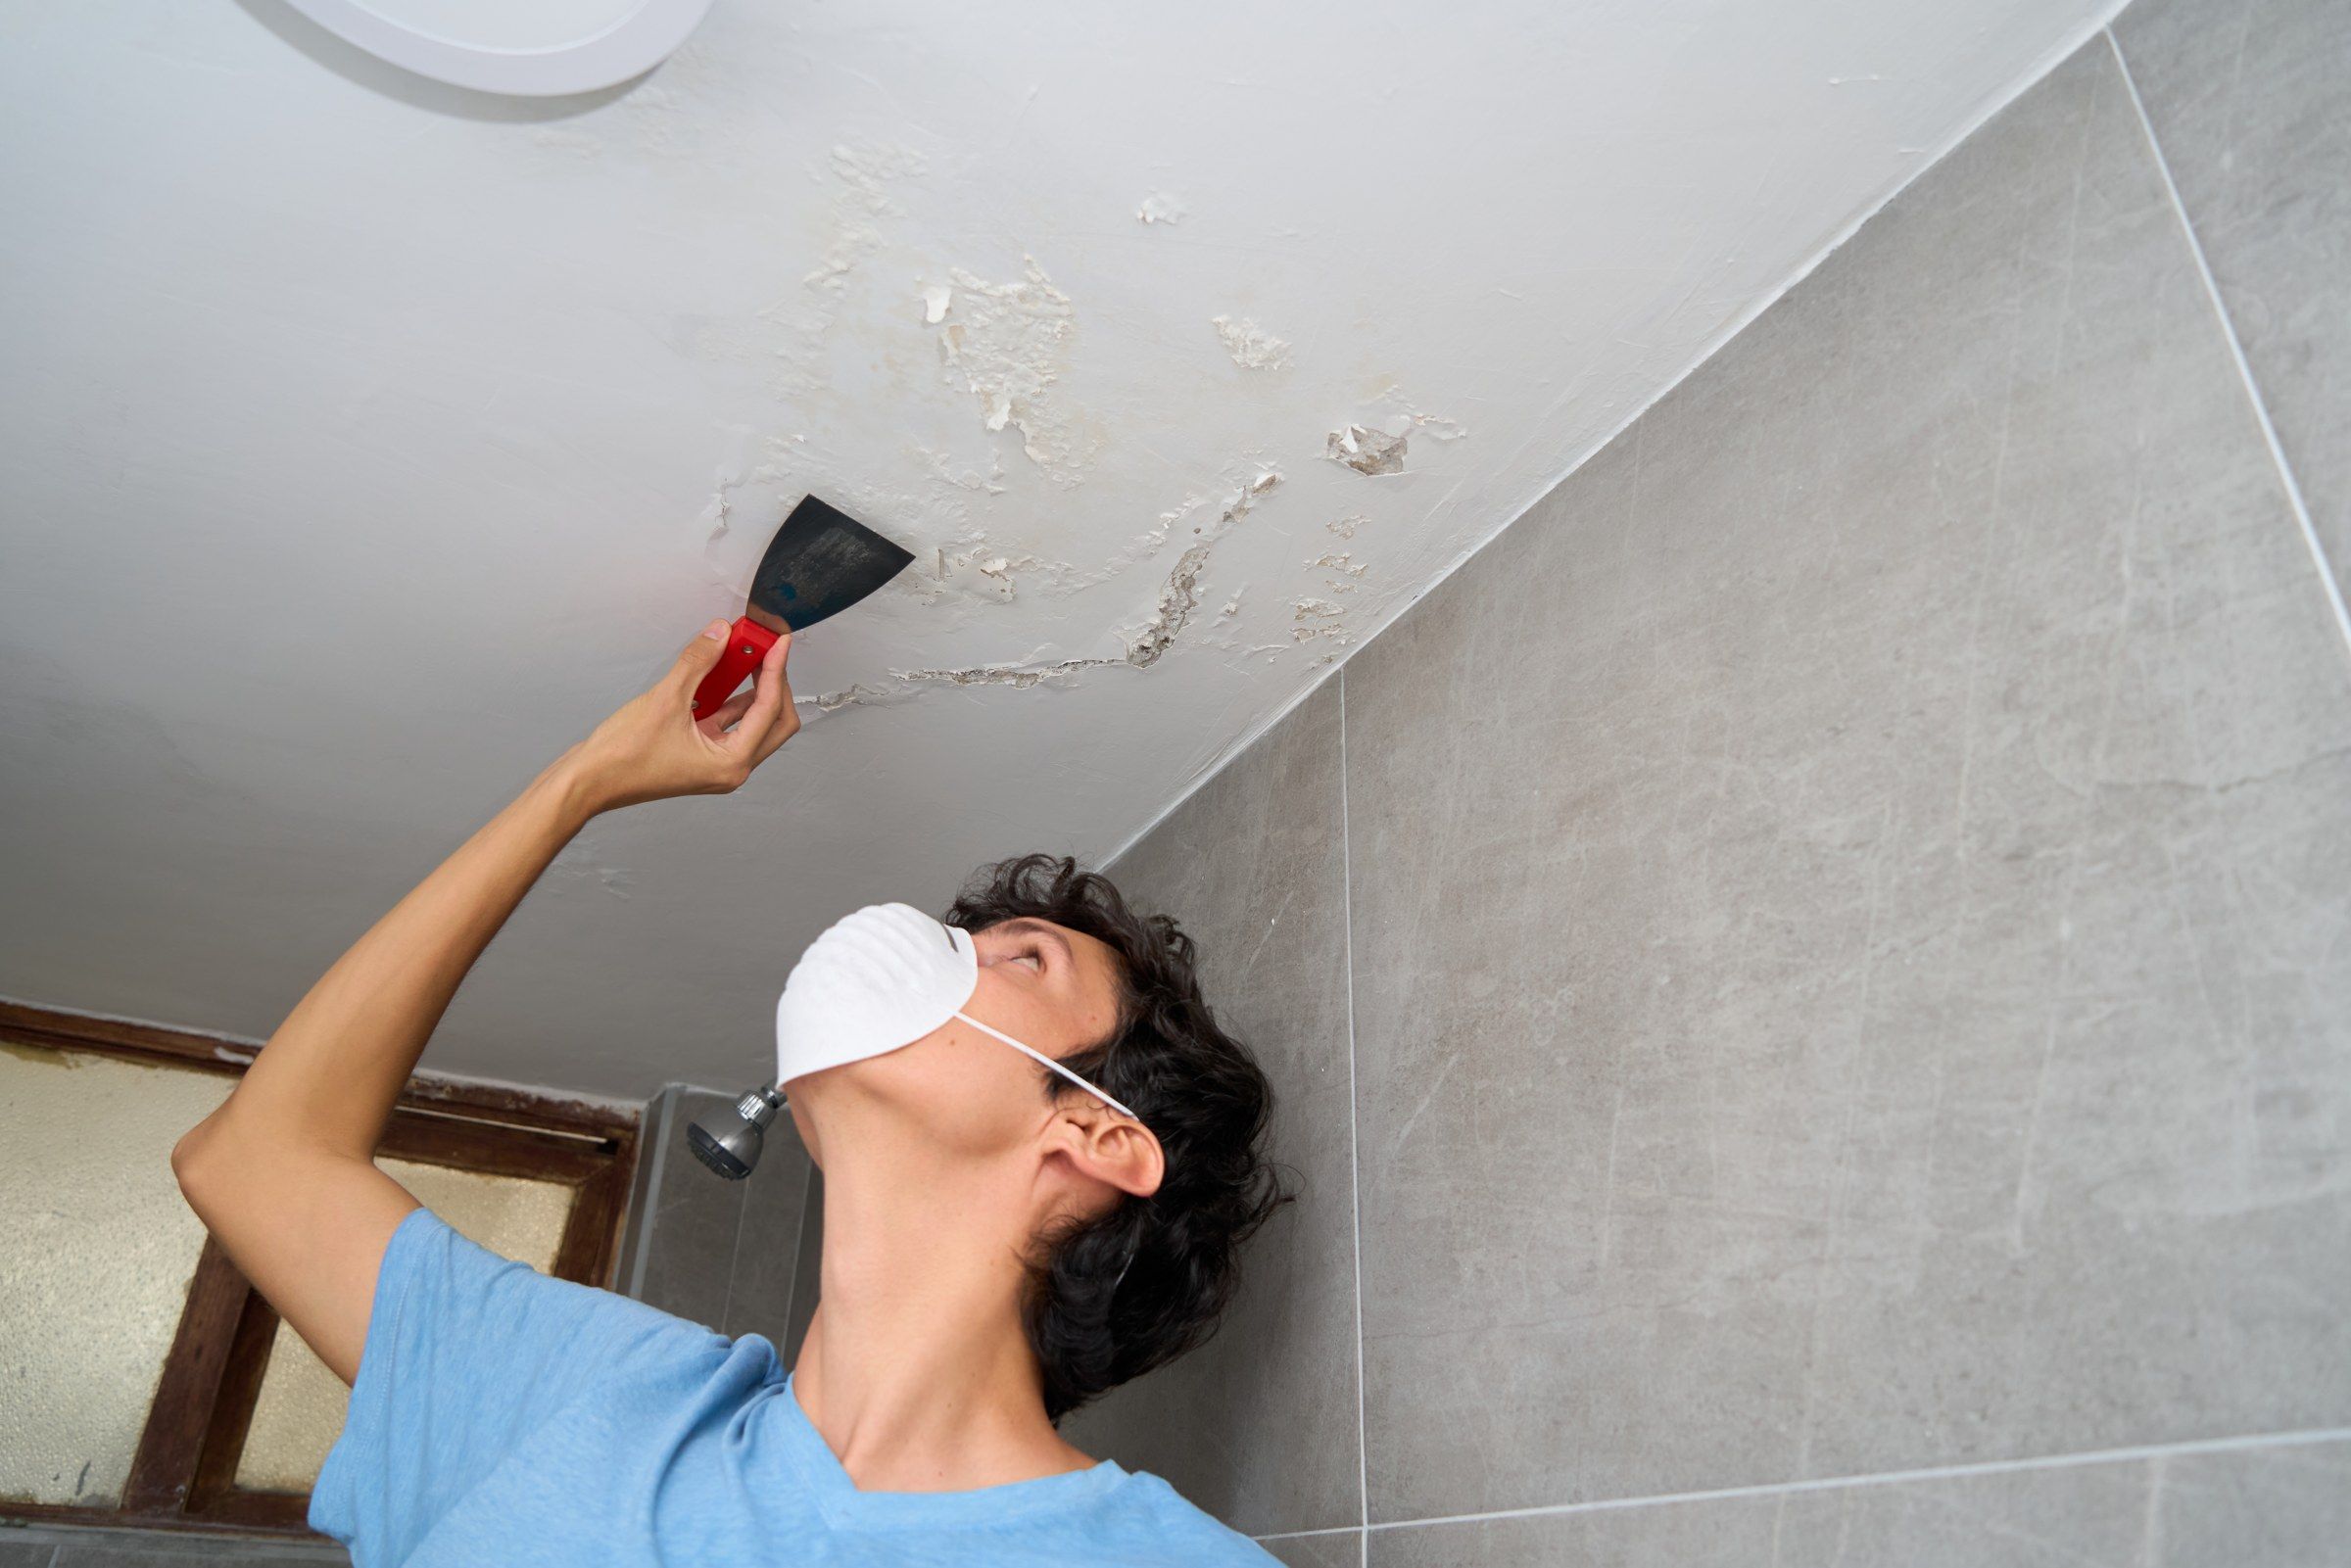
Ceiling drywall repair in Waukesha
Cracks that keep coming back, board that droops, stains from an old leak. Fixed so they stay fixed.
Get a free estimate- Common faults
- Seam cracks, nail pops, sagging, stains
- Core fix
- Re-screw, re-tape, feather wide
- After repair
- Whole ceiling should be repainted
You notice a ceiling problem lying in bed or sitting on the couch. After that you cannot stop seeing it. A crack from one wall to the other. A dip between joists. A yellow ring where the roof leaked years ago.
Ceiling repairs are harder than wall repairs. The work is overhead, gravity is against you, and light hits a ceiling at an angle that shows every flaw. We fix them properly and blend the repair into the rest.
Why ceilings fail
Most ceiling cracks follow a joint between sheets. The tape has let go or was never bedded well. Filling the crack does nothing, because the two sheets still move against each other.
Sagging comes from board that is too thin for the joist spacing, too few fasteners, or old water damage. Nail pops come from lumber drying and shrinking. Each has a mechanical cause, and the repair starts there.
What we repair
Long seam cracks
Old tape cut out, joint re-taped.
Popped fasteners
New screws beside each one, then refinished.
Sags and waves
Board re-screwed or replaced.
Leak stains
Sealed if sound, replaced if soft.
Corner cracks
Where ceiling meets wall and opens each winter.
Fixture holes
Old lights, fans and vents closed up.
How we work
Find the cause
Loose board, bad tape, movement or water.
Cover everything
Floors and furniture protected.
Screw it tight
Board pulled back to the joists.
Re-tape
New paper tape in setting compound.
Feather and texture
Wide coats, then texture to match.
Materials and method
Screws, not nails. Paper tape, not mesh, on flat ceiling joints. Setting compound for the first coat because it grips and does not shrink back.
Many Waukesha ceilings have a texture: stipple, swirl or knockdown. We match it after the repair. For heavy popcorn, see our removal service instead.
What you end up with
A crack that does not return
Because the joint was rebuilt.
A flat ceiling
No ridge where the repair is.
No worry overhead
Loose board is secure again.
Ready for paint
Sanded and sealed.
What sets the price
Overhead work is slower, and ceilings show more than walls.
Type of damage
A straight crack, a stain, a sag and a hole are four different jobs.
Extent
One joint or the whole room. Wide damage may be cheaper to re-board than to patch piece by piece.
Texture
Smooth ceilings blend easiest. Popcorn, knockdown and swirl need matching across the repair.
Height
Standard ceilings work from a bench. High ceilings need scaffold.
Repaint area
Ceilings rarely touch up. Budget for painting wall to wall.
Find the cause first
Stains mean water. A roof leak, a bathroom above, a sweating duct, or frost melting in the attic after a cold snap. The ceiling repair waits until that is traced and stopped.
Cracks mean movement. A crack that opens every winter along the line where ceiling meets wall is usually truss uplift. It is seasonal and cosmetic. The lasting repair lets the corner flex and does not fight it with more compound.
Sagging means the board has let go of the framing or was too thin for the spacing. Sometimes it screws back up. If the board got wet, or crumbles at the fasteners, it comes down and new board goes up.
Where ceiling repairs go wrong
Narrow feathering
A ceiling joint finished like a wall joint shows as a band. Ceilings need wider coats.
Patching wet board
Board that has been soaked stays weak after it dries. Replace it.
Spot paint
Flat ceiling paint touched up in one spot reads as a lighter patch. Paint the full plane.
Ignoring the attic
Wet or missing insulation above the repair brings the problem back.
Clear the room under the repair or let us cover it. Everything falls down from a ceiling job. Compound, dust, old texture.
If the stain is new and you do not know the source, tell us. We can open the ceiling and look before anything is priced for repair.
Repair methods by problem
Hairline joint crack
Old tape cut out, joint re-taped with paper, three coats feathered wide.
Ceiling-to-wall crack
Usually truss movement. Repaired so the corner can flex, often with the ceiling board floated free of the top plate near the wall.
Water stain on firm board
Source confirmed fixed. Stain sealed with a blocking primer, then the ceiling repainted.
Soft or sagging section
Cut back to joists, new board fastened, joints taped and finished.
Screw pops in rows
New screws beside the old ones to pull the board tight, both filled in two coats.
Old patch that shows
Sanded down, skimmed wide, and blended into the field of the ceiling.
Textured ceilings add a step. After the repair is flat, the texture is rebuilt over it and feathered into the surrounding area. Popcorn is the hardest to match because old texture yellows and flattens over time. Sometimes the honest advice is to retexture or smooth the whole ceiling in that room.
Where a ceiling has cracked along the same line more than once, we look at the framing above. Joists that were notched, a wall removed below, or attic storage loaded onto ceiling framing can all keep a crack alive. Drywall repair cannot hold against a structure that is still moving.
Scheduling is usually two or three visits. Cut-out and first coats on day one. Second coat a day later. Final coat, sanding and texture after that. The room stays usable in between if you do not mind the plastic.
When we finish, the repair is sanded and ready for primer. Prime it, then paint the whole ceiling in one go, working toward the main window.
Good to know
A repaired ceiling is a good time to check what is above it. If the attic is accessible, look at the insulation over the repair area. Batts that got wet should be replaced. Thin spots should be topped up. Uneven insulation is a common reason for the cold patches where condensation forms.
Bathroom ceilings fail from the room side too. A fan that is too small, or one that vents into the attic and not outdoors, leaves moisture on the ceiling after every shower. Paint peels, then the tape lifts. If that is the pattern, fix the ventilation along with the ceiling.
Keep some of the ceiling paint. Even with a full repaint now, a labeled can makes the next touch-up possible.
If the room has a ceiling fan or a heavy light, check its box while the ceiling is open. A fixture hung from drywall alone, or from a box not rated for the weight, should be corrected before the new board closes it in.
Before and after
Stock photos used to illustrate the change. Not a specific project of ours.
Ceilings and Wisconsin winters
Cold is hard on ceilings here. Roof trusses flex as the temperature drops, and the ceiling lifts slightly off the interior walls. A crack shows at the corner in January and closes by summer. It is common in homes built from the 1970s on.
In Waukesha’s oldest houses the ceilings are plaster, and the failure is different: the plaster loses its hold on the lath and sags. Those can be re-secured or covered with drywall.
Questions about ceiling drywall repair
Why does my crack come back every winter?
The joint moves with the seasons and was only filled, not re-taped. It needs to be re-secured and rebuilt.
Should I worry about a sagging ceiling?
Have it looked at. Mild sag is cosmetic. Sag after a leak can mean the board is close to letting go.
Can you repair plaster ceilings?
Yes. Loose plaster can be re-fastened and skimmed, or covered with a new drywall layer.
Will I see the repair?
Not after the full ceiling is painted. Spot-painting a ceiling repair nearly always shows.
How long does a ceiling repair take?
Most take two or three short visits on consecutive days to allow drying.
Work that often goes with this
Popcorn Ceiling Removal
Old sprayed texture removed and the ceiling finished smooth.
DetailsWater-Damaged Drywall Repair
Wet, stained or moldy board removed and replaced.
DetailsDrywall Repair
Cracks, pops, dents, loose tape and broken corners put right.
DetailsDrywall Patching
Holes cut out, backed, filled and blended in.
DetailsGet a price for ceiling drywall repair in Waukesha
Describe the job, add a photo, and we will send a written estimate.